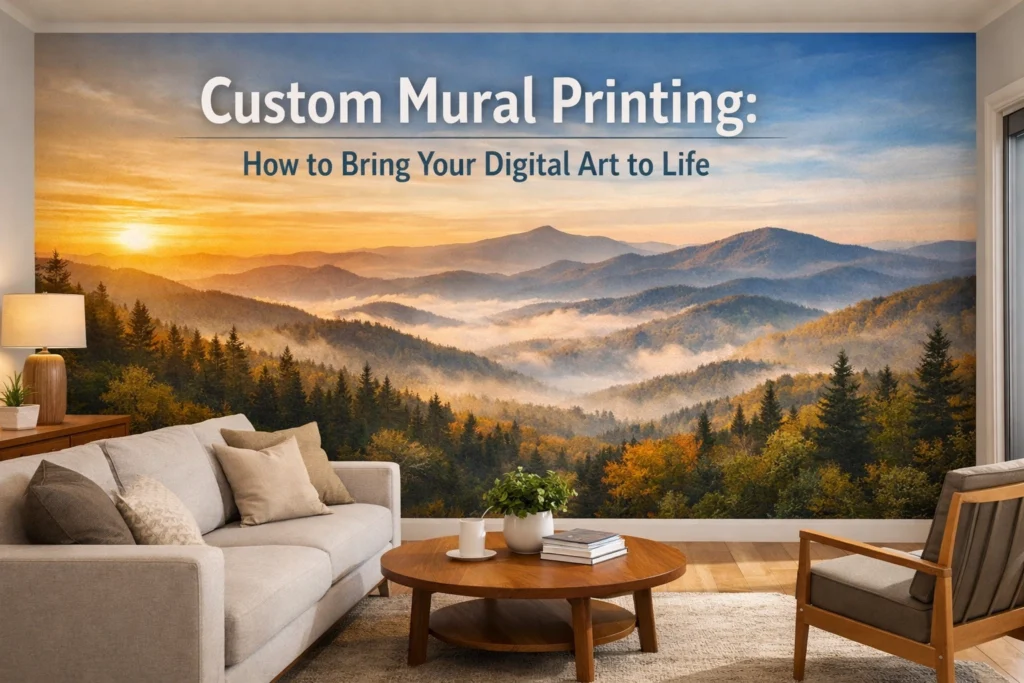
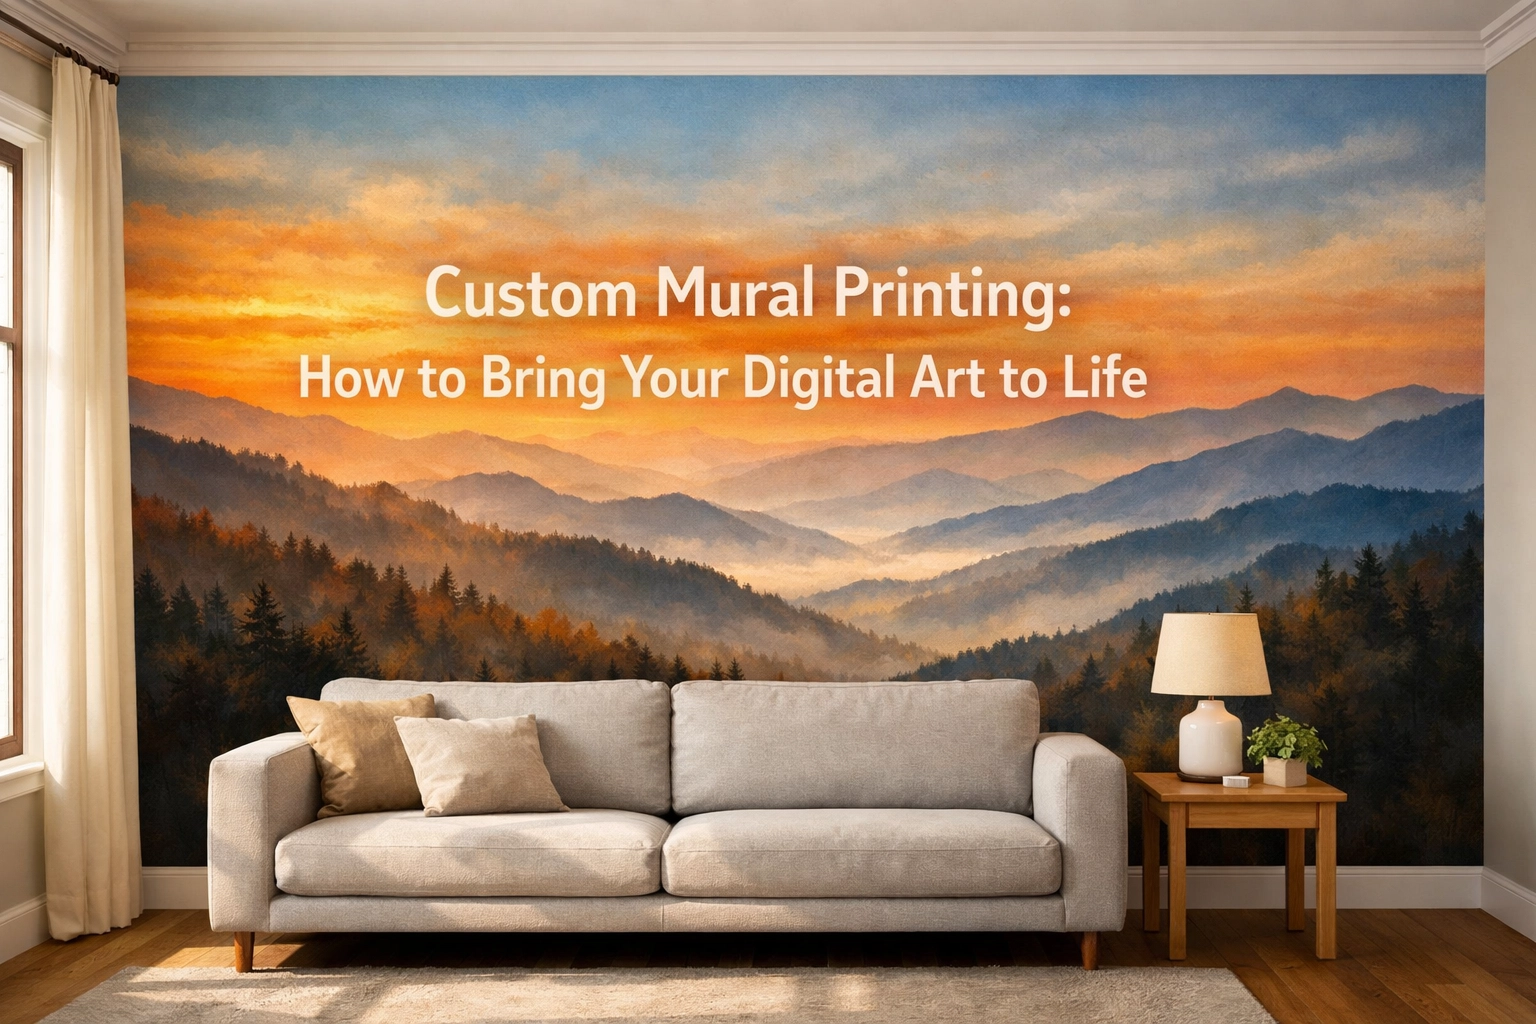
Let’s be honest: your best digital work deserves better than a 13-inch laptop screen or a fleeting square on an Instagram feed. You’ve spent hours: maybe days: perfecting that digital illustration, tweaking the lighting in that high-res photo, or designing a brand graphic that finally feels right. But seeing it live "in the wild" on a massive scale? That’s where the real magic happens.
At Knoxville Wall Murals, we’re in the business of blowing things up: in a good way. We take your digital files and turn them into large format wall art that stops people in their tracks. Whether you’re an artist wanting to showcase your portfolio on a grand scale or a business owner looking to inject some personality into a lobby, custom mural printing is the bridge between the digital and the physical.
But how do you get from a .PSD file to a 10-foot tall masterpiece without it looking like a pixelated mess? Let's break down the process of bringing your digital art to life.
Why Scale Matters (And Why Your Wall Needs It)
In the world of interior design, size is a superpower. A small framed print is a conversation piece; a wall-to-wall mural is an experience. When you opt for custom mural printing, you aren't just decorating a room: you're defining it.
For our friends here in East Tennessee, from the coffee shops in Old City to the tech startups in Maryville, the impact of large-scale art is undeniable. It creates an atmosphere that standard paint or mass-produced wallpaper just can't touch. But the leap from screen to stone (or drywall) requires a bit of strategy.
Step 1: Preparing Your Digital Files
The first rule of mural club is: Resolution is King.
If you take a low-resolution thumbnail and try to stretch it across a 15-foot conference room wall, it’s going to look like a Lego set gone wrong. To ensure your art stays crisp and professional, you need to start with high-quality files.
Resolution and DPI
Ideally, your files should be 300 DPI (dots per inch) at a significant size. While some large format printers can handle 150 DPI for murals that are viewed from a distance, the closer people are going to stand to the wall, the higher the resolution needs to be. If you’re working with raster images (like photos or Procreate illustrations), aim for the highest resolution your hardware can handle.
File Formats
We love a good vector file (.AI, .EPS, or .PDF). Why? Because vector art is mathematically based, meaning you can scale it from the size of a postage stamp to the size of the Sunsphere without losing a single ounce of detail. If you're working with raster files, stick to .PSD, .TIFF, or high-quality .JPG.
Step 2: Measuring and Scaling
Before we fire up the printer, we need to talk dimensions. Measuring your wall isn't just about height and width; it's about accounting for the "obstacles."
When you're designing for a specific space, think about:
- Outlets and Switches: Don't put the most important part of your art right where a light switch needs to go.
- Furniture Placement: Is a massive couch going to cover the bottom three feet of your design?
- Bleed Area: We always recommend adding 2–4 inches of extra design on each side. Walls are rarely perfectly square (especially in some of our charming, older Knoxville buildings), and that extra "bleed" ensures we can trim the art to a perfect fit without leaving white gaps.
Step 3: Choosing Your Method (The Knoxville Wall Murals Difference)
This is where things get interesting. Traditional custom mural printing usually involves printing on giant rolls of vinyl or "peel-and-stick" wallpaper. While those are great options for some, we do things a little differently here.
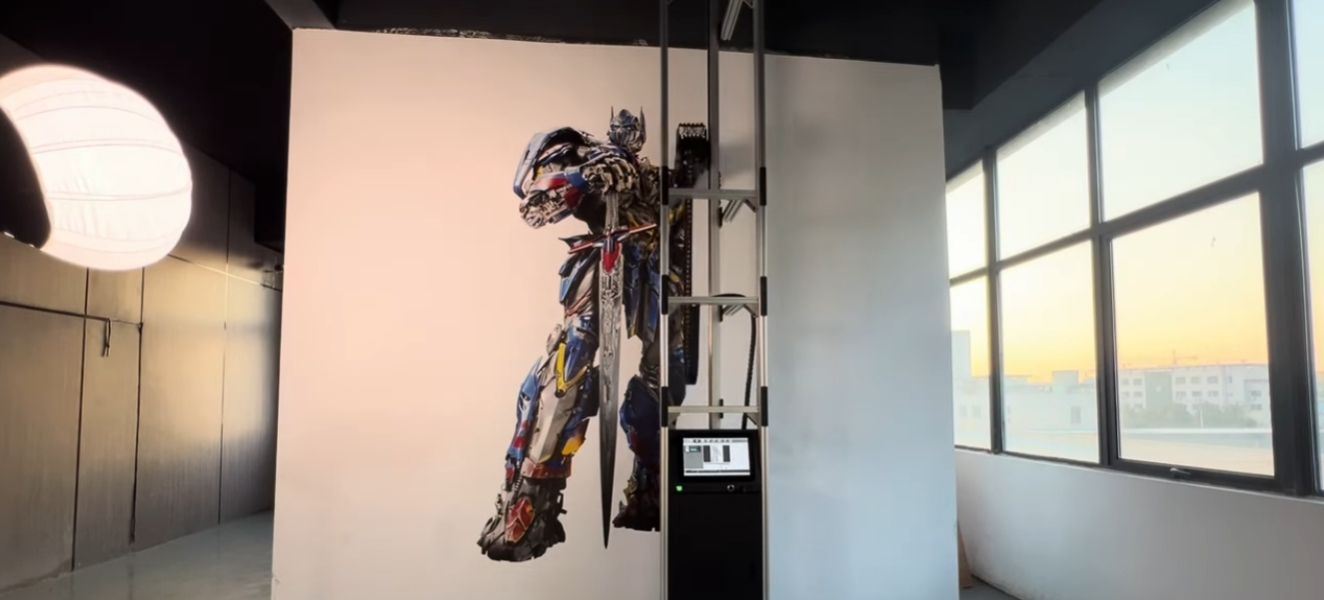
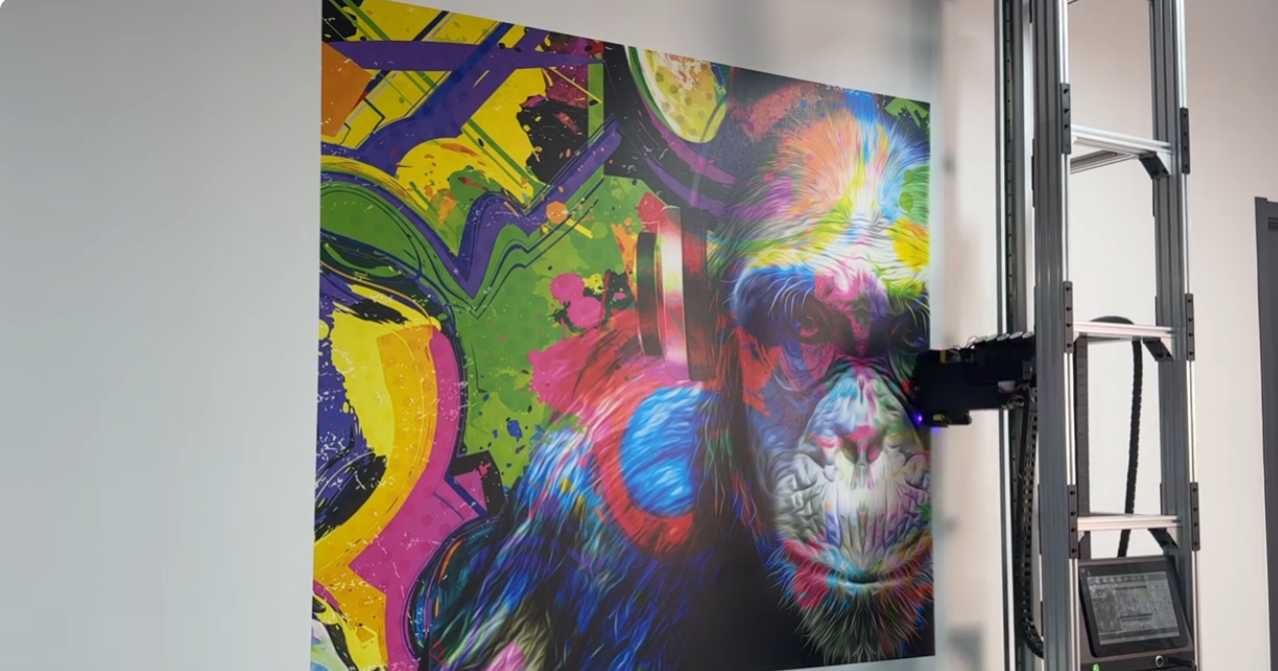
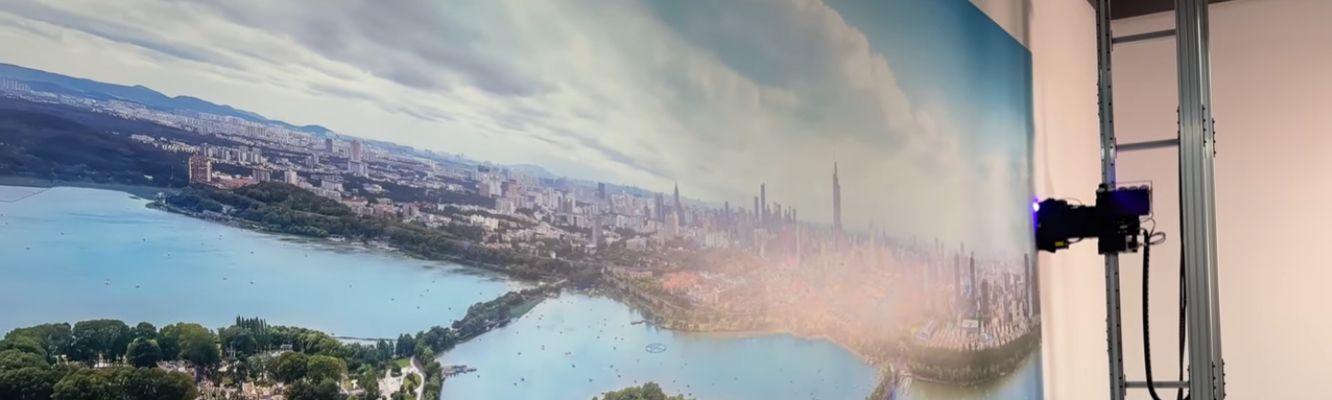
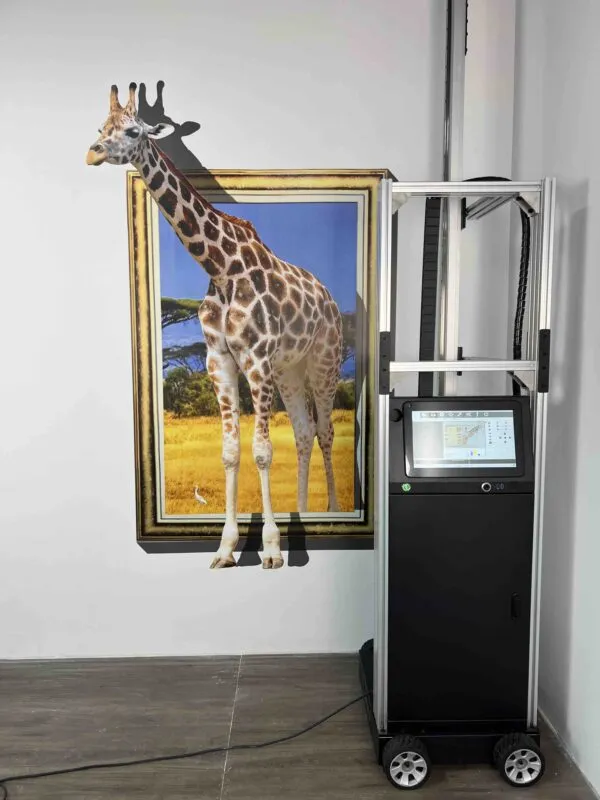
At Knoxville Wall Murals, we use advanced vertical wall-printing technology. Instead of printing on a sticker and trying to smooth out air bubbles, our machine prints your digital art directly onto the wall surface.
Why Direct-to-Wall Printing Beats Traditional Vinyl:
- No Seams: Traditional murals come in panels. No matter how good the installer is, you can usually see the seams where the panels overlap. Our process is seamless.
- Texture Integration: If you have a brick wall, a concrete surface, or a textured plaster wall, our printer follows the contour of the surface. It looks like it was painted there, not stuck on.
- Durability: Our UV-cured inks are tough. They resist fading and can be cleaned with a damp cloth, making them perfect for high-traffic areas like restaurants or kids' rooms.
Step 4: The Proofing Process
We don't just "hit print" and hope for the best. Once you send us your art, we create a digital proof. This is your chance to see exactly how the art will sit on your specific wall.
During this stage, we can adjust focal points. Maybe that mountain peak in your digital painting needs to shift six inches to the left to avoid being cut off by a door frame. We handle those technical tweaks so the final result looks intentional, not accidental. You can check out our portfolio to see how we've handled complex layouts in the past.
Step 5: The Transformation
Once the design is locked in, the fun begins. Unlike traditional muralists who might need weeks of scaffolding and paint fumes to finish a project, our vertical printer works with incredible speed and precision.
Watching the machine work is honestly half the fun. It’s like watching a giant, high-definition inkjet printer move vertically up your wall. The detail is photographic, the colors are vibrant, and there’s zero "new paint" smell to deal with.
Bringing the "Wow" Factor to Every Space
Custom mural printing isn't just for art galleries. We've seen digital art transform all kinds of spaces:
- Corporate Lobbies: Turning a boring mission statement into a vibrant, brand-focused mural.
- Residential Feature Walls: Bringing a favorite family vacation photo to life as a floor-to-ceiling focal point in a living room.
- Gyms and Studios: Using bold, high-contrast digital graphics to pump up the energy. Check out our services page for more ideas on how we can help.
We’ve even been known to give back to the community we love. Keep an eye on our free wall mural giveaway page: we love finding local spots that need a splash of digital-to-physical creativity.
Frequently Asked Questions
Can you print on any surface?
Pretty much! Drywall, brick, wood, glass, and even metal. As long as the surface is relatively flat and the machine can get close to it, we can print on it.
How long does it take?
The actual printing is surprisingly fast. Depending on the size and detail, most murals are finished in a single day. The lead time from digital proof to installation is usually around 15–20 business days.
What if I don't have my own art?
No problem. We can work with you to source high-resolution imagery or help you find a digital artist whose style matches your vision.
Ready to Get Off the Screen?
Your digital art was meant for more than just a hard drive. It was meant to be experienced. It was meant to change the way a room feels.
If you’re ready to see your work on a grand scale, let’s talk. Whether you’ve got a finished file ready to go or just a "crazy idea" scribbled in a notebook, we’re here to help you navigate the world of large format wall art.
You can request a quote today, and let’s start planning your wall’s transformation. After all, life is too short for blank walls, and your art is too good to stay small. Let’s make something big together!